
Who is this Guide For?
- All Users (Contacts access required)
- Supervisors/Admins (Bulk actions like Delete All Contacts, if enabled)
What You’ll Learn
- How to add, edit, and delete contacts
- How to import contacts via CSV
- How to delete all contacts (if enabled)
- Important notes about opt-out and consent-related fields
Overview
The Contacts page allows you to manage your contacts and contact details (including opt-out and consent message status), import contacts in bulk, and perform additional contact-management actions.
Adding a Contact
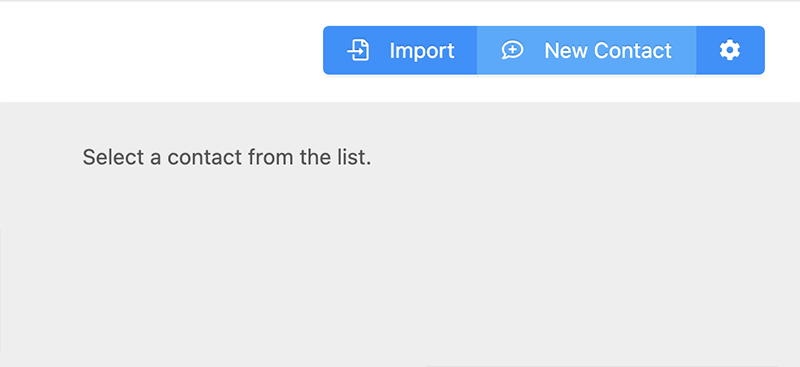
- From the Contacts page, click New Contact in the top-right of the app.
- Enter the contact details.
- Complete all required fields (marked with a red asterisk).
- Click Add Contact.
Note: Although the app does not use the email address for messaging, the Email field can be helpful for integrations using Relay Webhooks and the API as a secondary identifier.
Editing a Contact
- From the contact list on the left, select the contact you want to edit.
- Update the contact details as needed.
- Complete all required fields (marked with a red asterisk).
- Click Update Contact Details.
Note: Although the app does not use the email address for messaging, the Email field can be helpful for integrations using Relay Webhooks and the API as a secondary identifier.
Important: If you manually check the Opted out checkbox, the contact will be opted out until they reply with one of the following keywords: START, UNSTOP, OPTIN, or SUBSCRIBE.
Deleting a Contact
- Locate the contact in the contact list on the left.
- Open the Action dropdown for that contact.
- Select Delete.
- Confirm when prompted.
Note: Some users and account types may have the delete feature disabled by an administrator.
Importing Contacts via CSV
Importing lets you load contacts from a CSV file into your account. You can also optionally segment contacts into a specific list during the import.
- Click Import from the top-right of the app.
- Choose Upload File or paste your CSV contents into the import field (if available).
- (Optional) If your CSV includes a header row (example: “Full Name, Phone, Email”), check Skip First Line.
- (Optional) To add contacts to a marketing list, choose a list from Import Contacts into Selected List.
- Click Import Contacts.
Note: A sample CSV is provided in the app. Your CSV must match the required format or the entire import may fail.
Tip: If the Import Contacts into Selected List dropdown does not appear, verify that at least one list exists in the Lists page.
After clicking Import Contacts, the file is sent to the server for processing. Depending on the list size, contacts should appear in your Contacts list within several minutes.

Deleting All Contacts
You may need to delete all contacts for a user in situations like reassigning a number, or after importing invalid/unintended contact data.
- On the Contacts page, click the gear icon in the top-right to open the Settings modal.
- Click Delete.
- Confirm when prompted to proceed.
Critical: Deleting all contacts CANNOT BE UNDONE.
Depending on the size of your contact list, this process may take several minutes and the list may refresh multiple times while syncing with the server.
Note: Some users and account types may have the delete contacts feature disabled by their administrator.
Troubleshooting
My CSV import failed.
- Download and use the sample CSV from the import screen.
- Confirm your CSV columns match the required formatting exactly.
- If you included a header row, try enabling Skip First Line.
I don’t see the Delete option for contacts.
- Your administrator may have disabled contact deletion for your user/account type.
- Contact your admin or Crexendo Support if you believe you should have access.
The “Import Contacts into Selected List” dropdown is missing.
- Verify you have at least one list created in the Lists page.
- Refresh the app and reopen the Import screen.
FAQ
Does the Email field affect messaging?
No. The app does not use email addresses for communication, but the Email field can help with integrations (Relay Webhooks/API) as a secondary identifier.
What happens if I manually set a contact to “Opted out”?
The contact will remain opted out until they text back START, UNSTOP, OPTIN, or SUBSCRIBE.
Need More Help?
If you need additional assistance, please contact Crexendo Support at 855-211-2255 or email us at support@crexendo.com — our team is happy to help!